
What do you do when you run out of rack space?
You guessed it, you make your own!
We ran into a unique problem last month - we had a small console server to install at a colo facility for out-of-band console access. Unfortunately our gear is sandwiched between other equipment and is in a two post rack so we couldn’t easily put the console server nearby. What to do?! 3D-print a bracket to attach to the back of the existing equipment and mount the console server, obviously!
When designing the bracket we need to keep a few essentials in mind:
Bracket cannot exceed the height of 1U.
Must be durable enough for long-term use.
Must withstand warm exhaust air temperature of about 35 degrees Celsius.
Easy installation by remote support team.
I decided to use some leftover acrylonitrile styrene acrylate. The plastic is both UV and weather resistant and is rated for 100 degree Celsius temperatures, not to mention it’s very rigid.
I used OnShape to design the bracket like I did in this wall plaque creation blog.
There were a few variations of the bracket as I worked out the kinks:

Version 1 had a straight corner that did not hold the console server’s weight.
The first version didn’t have the brace and trusses in the corner so the bracket twisted under the weight of the console server. Overall stability improved immensely once the brace and trusses were added to the corner to prevent flexing.
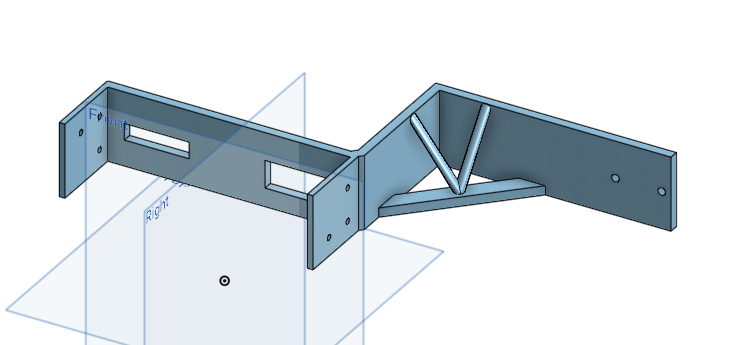
The finished product includes a brace and trusses in the corner to improve stability.
The revised bracket holds the required weight so the brace and trusses certainly prove their worth.

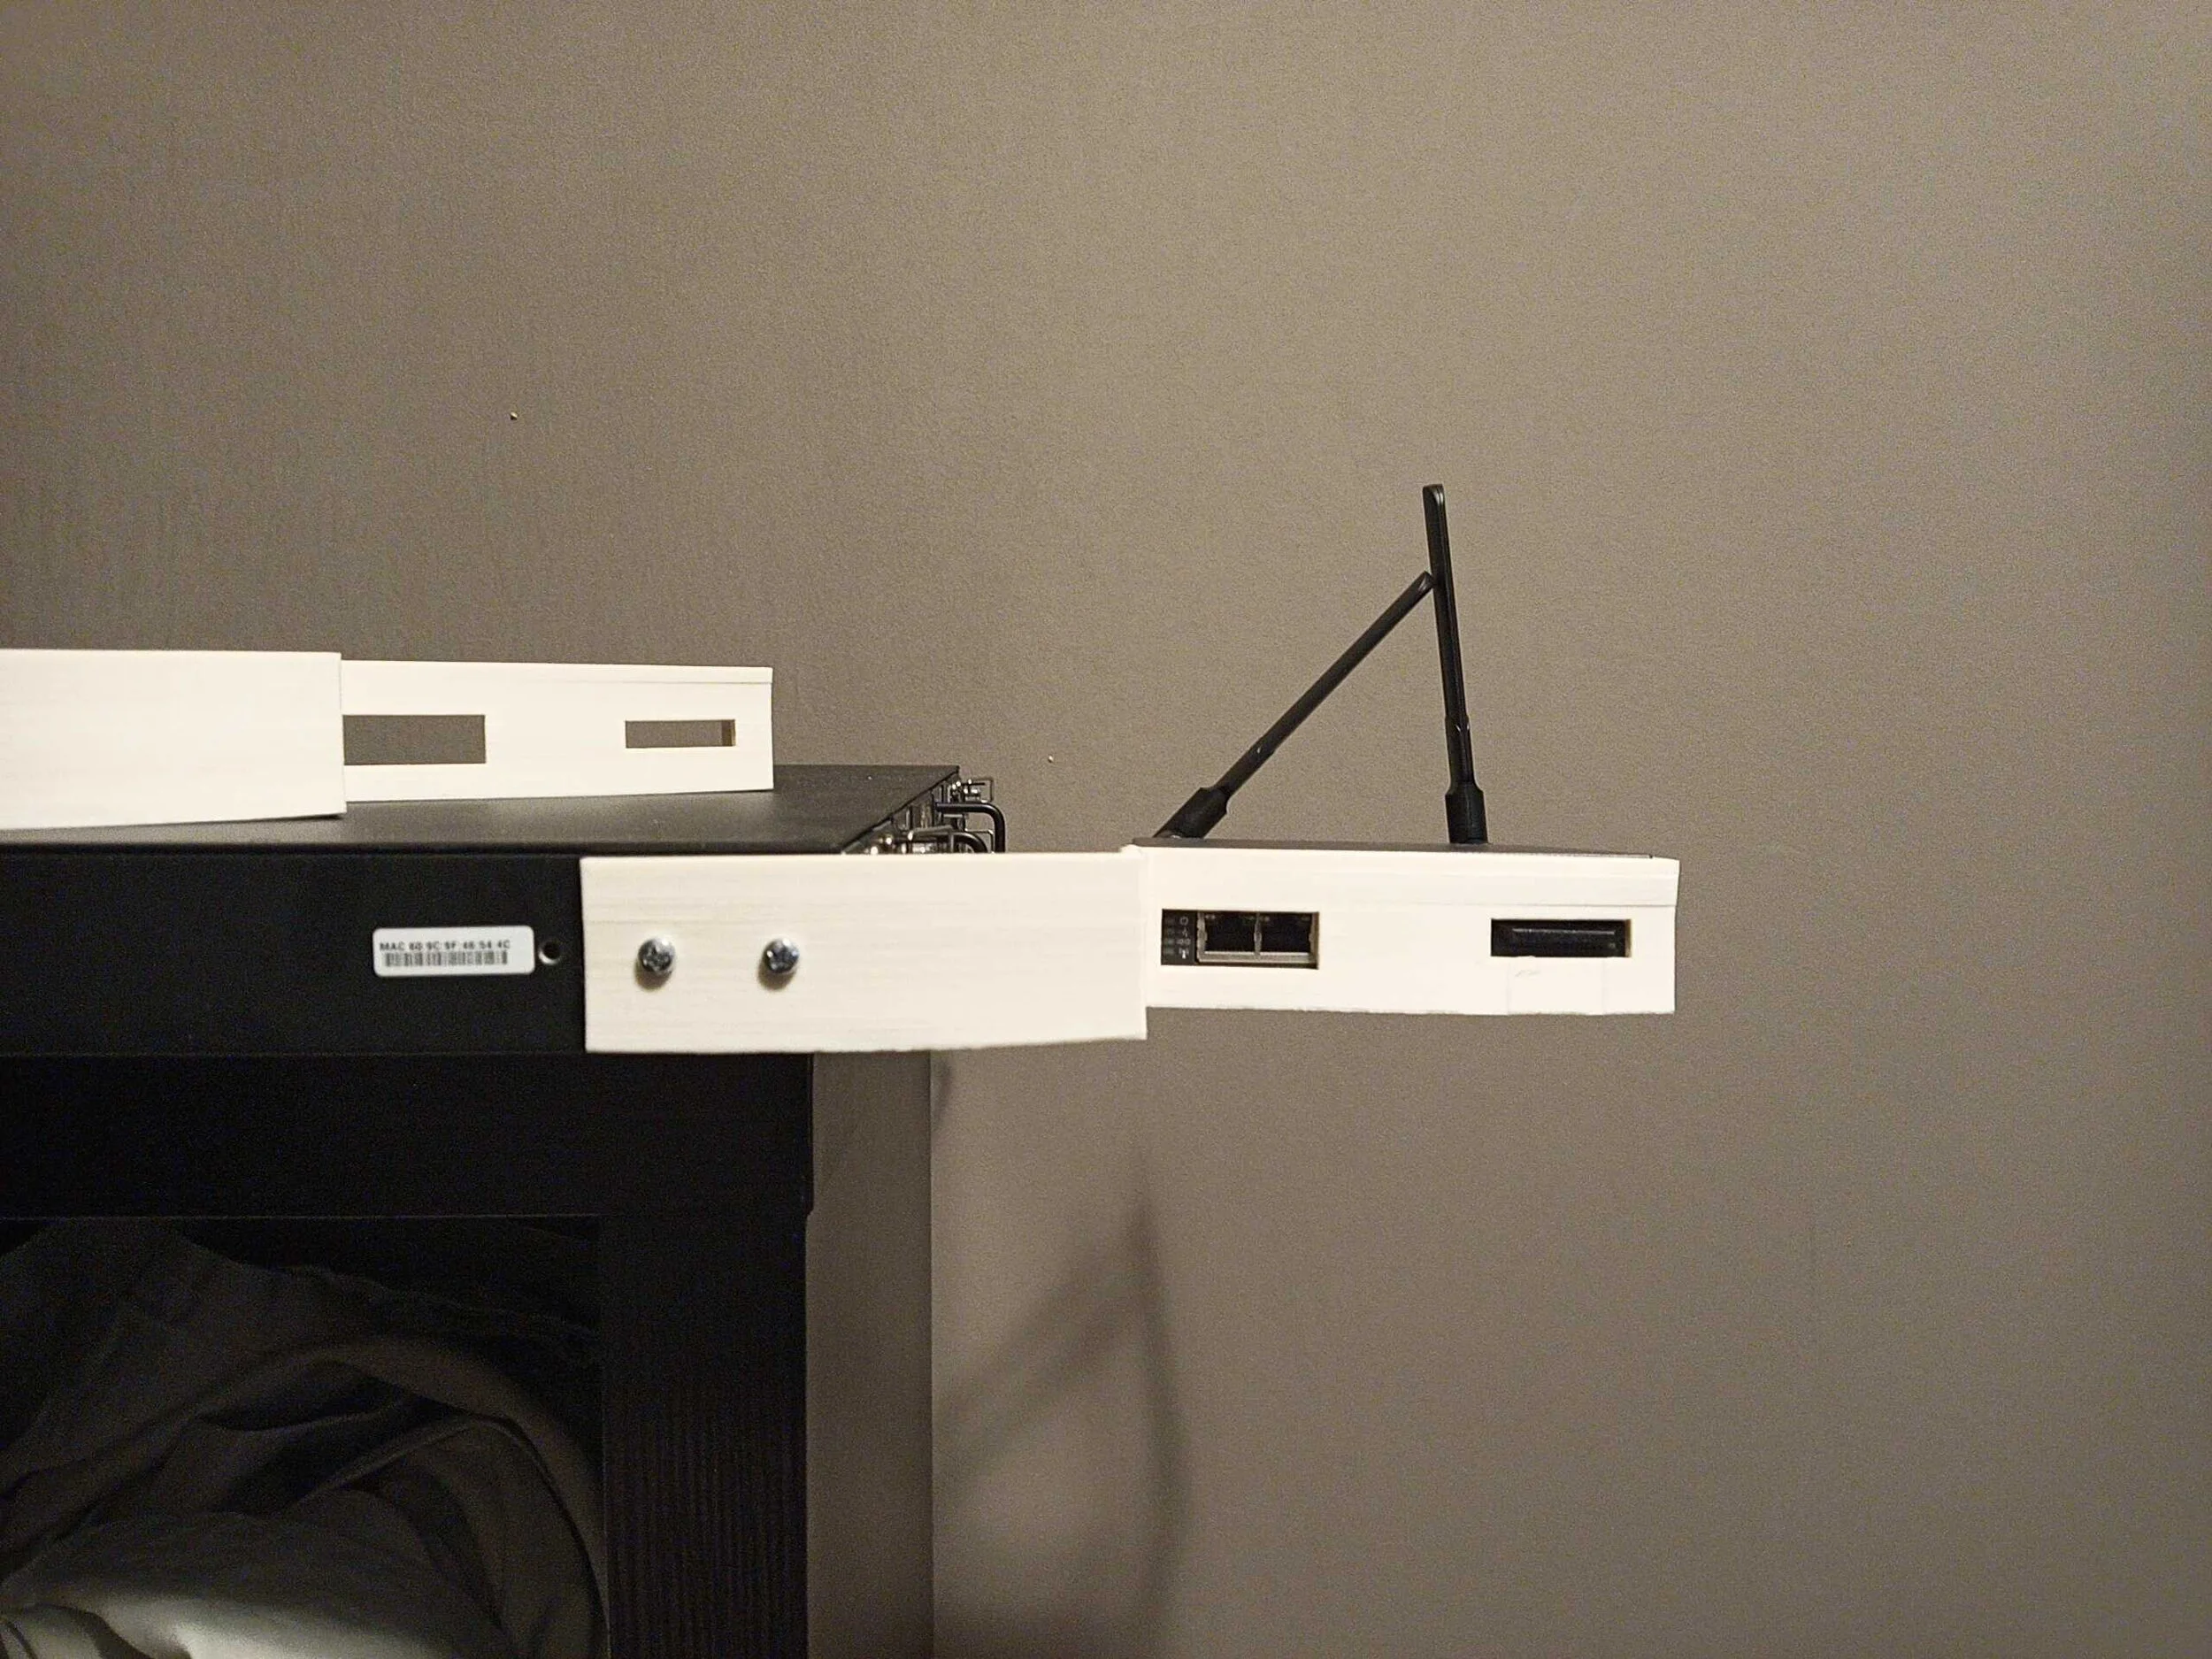
The revised bracket secured to a test switch and the console server is far sturdier than it’s predecessor!
Overall the design is pretty good: it stays in place without much flex while still giving enough room to breathe.

Unfortunately there is still a problem: the screw hole closest to the edge is a bit too too close and so the layers separated.

Version 3’s screw holes are much deeper and closer to the brace so the console server doesn’t hang as far away from the switch to further improve stability. i also added a third hole to mount to the side of the switch.

Version 3 has an extra screw hole for mounting to the switch and less space between them and the brace to improve stability.
The final bracket was still printing when I took this picture but you can see a very minor but acceptable amount of droop with the version 2 bracket.
And that is how we solved our unique problem! Sweeet!